This video and it's content are property of MCW Legal™ as it transitions through a re-brand to Sure Legal™.
HOW TO COMPLETE THE ACCIDENT DETAILS
on a notice of accident claim form.
Lesson Essentials
Essential Resources
Linked Videos
Time Stamps
Introduction
We can all agree that attention to detail is crucial in who is determining who is at fault in a motor vehicle accident.
It is important to get your version of events right the first time, and not chop and change your story. One of the first places we need to record that version of events, if we have been injured in the accident, is on the Notice of Accident Claim (NOAC) form which will be submitted to the CTP insurer of the at-fault driver so that you can be compensated for your injuries.
It must be downloaded from the Internet and completed very carefully. You don't want to be seen as that claimant who changes their story all the time. It will affect the volume of compensation you get.
Often, the other side, or even the police, won't believe our version, and that can make us feel pretty terrible, - angry even. But we don't need to despair or fly off the handle. We just need to stick to what we believe happened. And the best way to make your story believable is to reinforce it with a ton of facts.
And that means, we need a system that can jog our memory to record every detail possible, so that when we are finished recording our version of events, we are extremely confident and relieved knowing that we have covered off every single detail of the accident.
And the aim of this guide is to give you that system, the system that contains the step to filling out the accident details correctly, properly, and meticulously on our NOAC form, so that you can access all of the reimbursements you are entitled to.
What You Will Learn
So here is what you will learn in this video.
- 1In Stage 1, we will take you through how to provide details of when and where the accident occurred.
- 2In Stage 2, we will take you through how to provide details of who was involved in the accident, including witnesses.
- 3In Stage 3, we will ask you and teach you how to provide details of how the accident was caused.
Because we understand how people's emotions get they're apportioning blame for a car accident, and we aim to keep things as factual and as simple as possible.
And the method we're going to show you for recording your version of the accident is exactly what we use in our legal practice, and we've used it to get the right results for thousands of clients.
STAGE 1: establishing when and where the accident occurred.
So let's get started with the first step, and that step is to record the correct time and place of the accident.
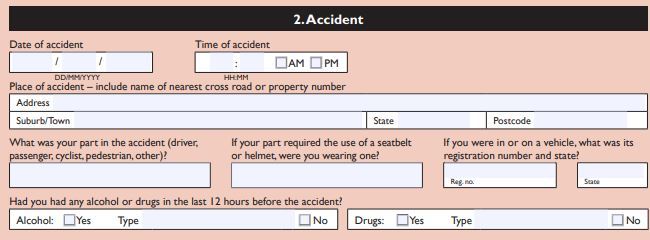
Download the NOAC form, that's the first thing you will need to do. You need to go to section 2 of the NOAC form and, here, we will fill in our details about the accident.
There are 4 things we need to look at in this part of the form.
Part 1 is the date and the time of the accident, very straightforward.
Part 2, the address of the accident, where the accident occurred.
Part 3, what was your part in the accident. Were you a driver, a passenger, a cyclist, a pedestrian? If your part required you to use a seatbelt or a helmet, were you wearing one?
And then part 3, what was the registration number of the vehicle that you were traveling in? And the state.
And part 4, did you have drugs and alcohol 12 hours prior to the accident? Just be very truthful with all this, it'll play a big part in your compensation.
Make sure you answer every question, and don't give the insurer the chance to return it to you incompleted or non-compliant.
Tactical Tip!
Don't be worried about making a mistake. Print the form out a few times and use a pencil and eraser. And when you get it right, go over it with a pen.
So ahead now and fill out this first section. When you've done that, it's time to move on to the next stage.
STAGE 2: Establish Who Was Involved In The Accident
Now, we're going to establish who was involved in the accident. And as you know, there's always more than two sides to every story.
There's the not-at-fault party, which will be you. There's the at-fault party, which is the other driver. And then, of course, there'll be witnesses who may have a different version of events to both yours and the at-fault driver's.
So there are generally, as you can see, three types of people involved in the accident. And for each of these people, we need some details. So let's dive in and see what they are.
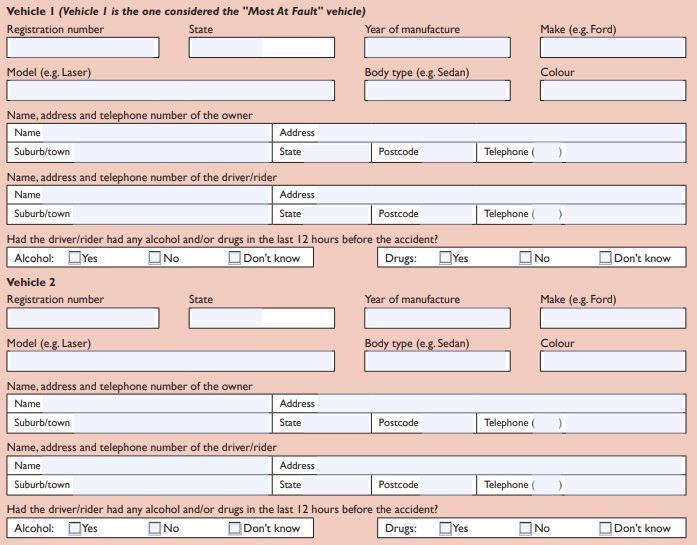
The first one is, we call, Vehicle One, which is the at-fault vehicle. So here, you'll need to make sure you've got the make and the model of the car, who owned it, and who was driving it.
Secondly, you will need the not-at-fault vehicle, which will most probably be you. And you'll need, obviously, once again, the make, model, and year of the car, the driver's details of that car, and the owner's details of that car.
Then, you will need the witnesses' details. So, the personal contact details of people who witnessed the accident.
So let's go over these four critical pieces of information we're going to need for each of these vehicles. We need car details, driver details, owner details, and drug and alcohol details. Let's dive in, let's have a deeper dive and a closer look.
So, the at-fault vehicle details. We identify the car, you can do this by going to this resource and punching in the registration number. The make, the model, the year of the car will show up, it's free. So I implore you to do that, it'll help you fill out the form. And also, it'll double-check any details you might have taken at accident.
Secondly, you identify the owner of the car. These are the details you may have got from the accident scene, but you might not have.
Then, you identify the driver of the at-fault vehicle. Once again, details that you should have picked up at the accident scene.
And lastly, you confirm or deny whether the driver of that vehicle was under the influence of drugs or alcohol.
Not-at-fault driver details
Secondly, we then move through the not-at-fault driver details in very much the same way. And then we go through, last of all, the witness details.
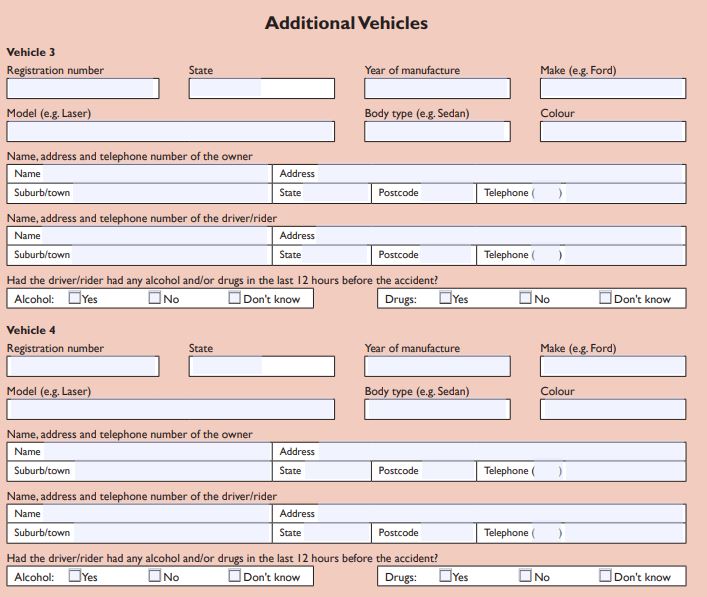
So if there are more than two vehicles in the accident, there is another part of this form, which you can use to add additional information, make sure that you use it.
This is where it is - right at the back of the form. So you put that on there, and underneath that, you'll be able to add anymore information.
It's important to list all of the details of the at-fault vehicle. So failure to do so will see your claim delayed.
So go ahead, now, and fill in the details about the vehicles, the owners, the drivers, and the witnesses. And when you've done that, it's time to move on to the next stage, which is describing how the accident occurred.
STAGE 3: Establishing How The Accident Was Caused
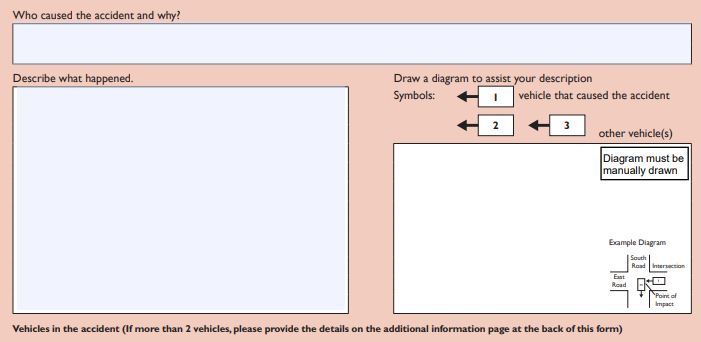
This is the part of the form that we use. It doesn't look very big but I can tell you, this is a crucial part of the form and will form a crucial part of your evidence.
This is where we need to get your story right. So get a few blank sheets of paper, a pencil and an eraser, and be prepared to spend time getting this right before committing your version to the NOAC form and submitting it.
Your claim will be negatively affected if you change your version from what you submit on the NOAC. Be sure, be careful, be truthful. We aim to do that by looking at 3 parts of the form.
1, we'll draw the accident. 2, from the drawing, we'll describe the accident in dot point form. And number 3, from the description of the accident above, we will determine who caused the accident and why.
So let's look at the order in which we need to do things, as it is laid out on the form in the reverse order of how we like to do things.
7 Step Process to Drawing an Accident
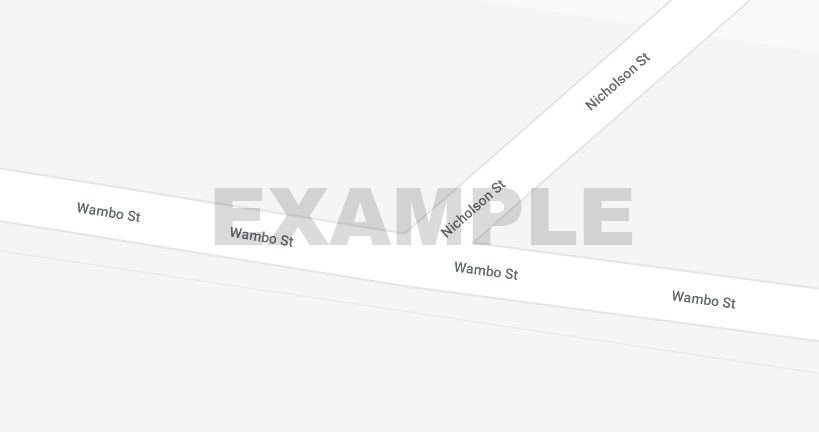
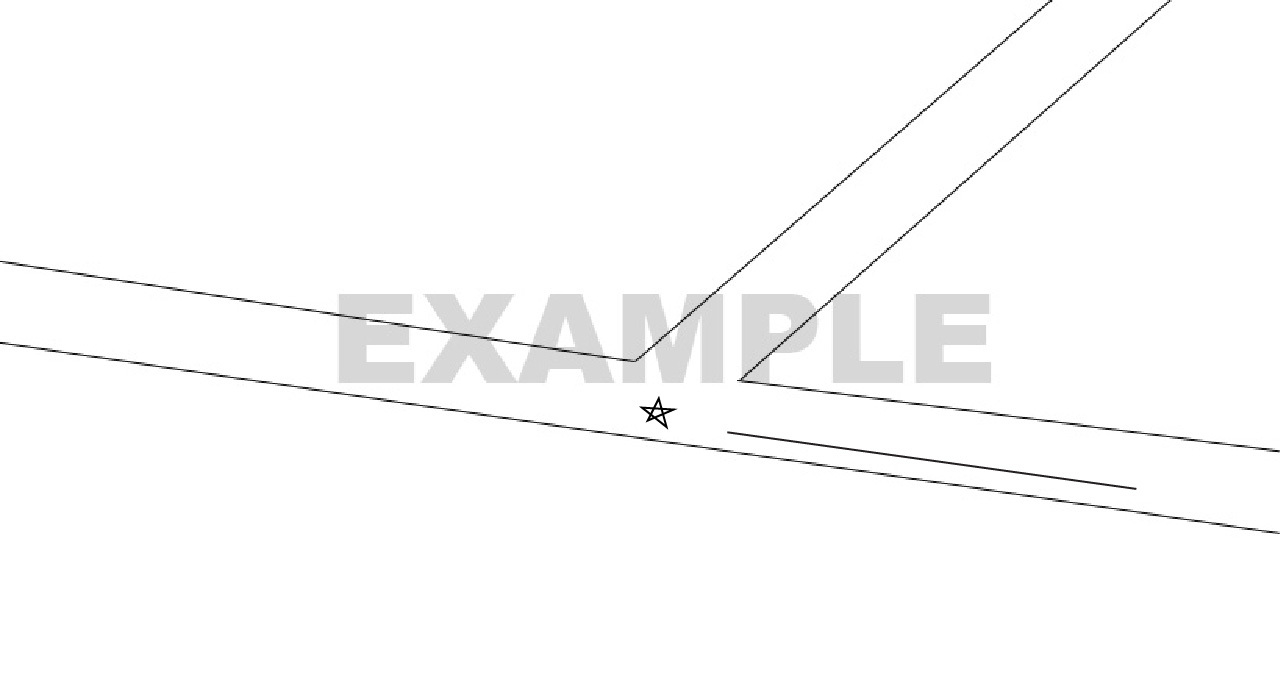
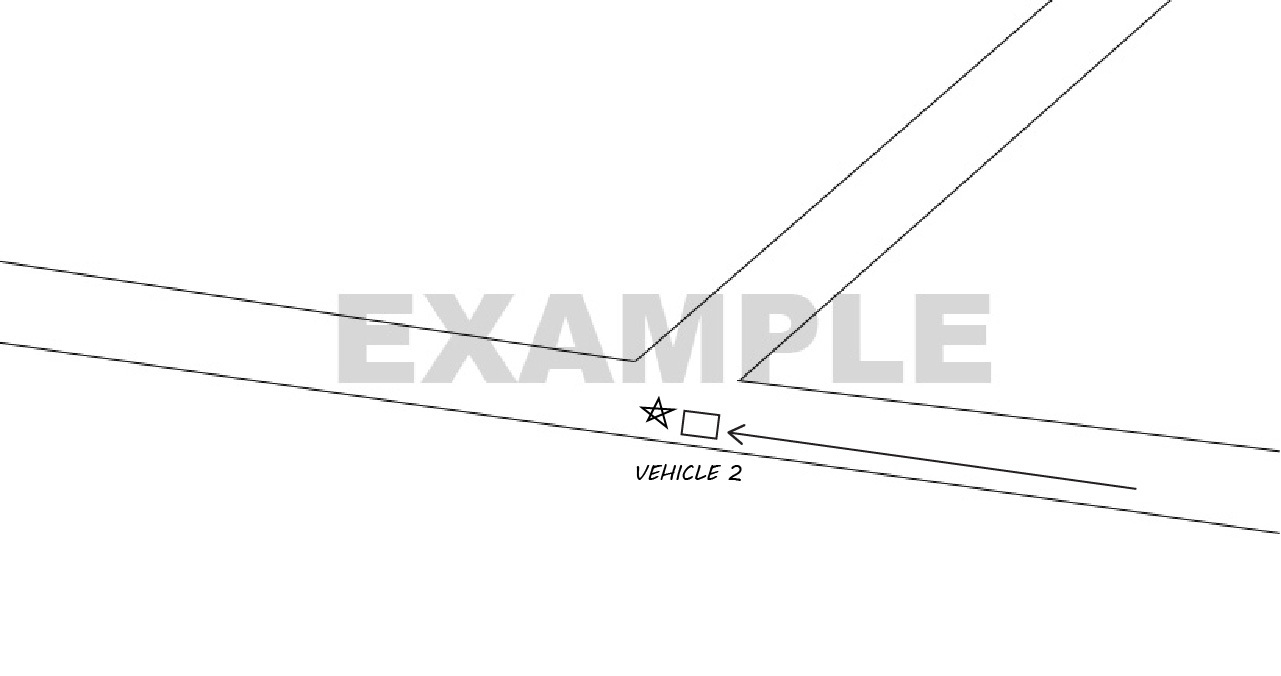
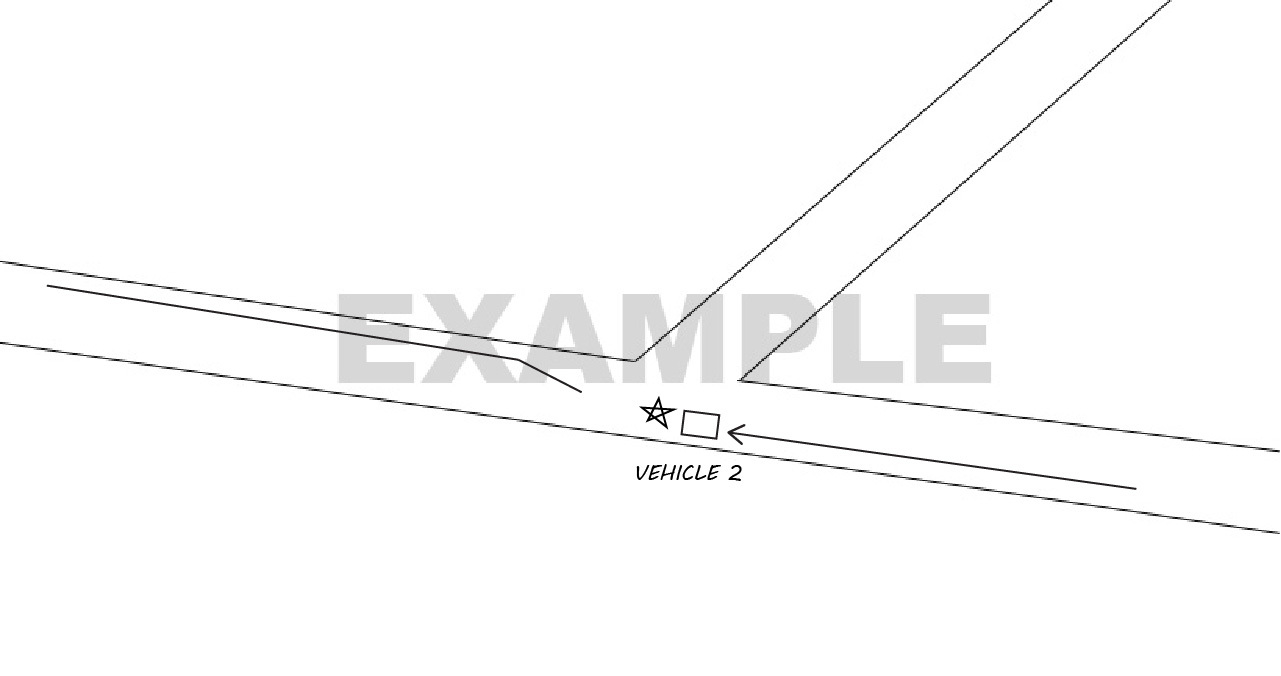
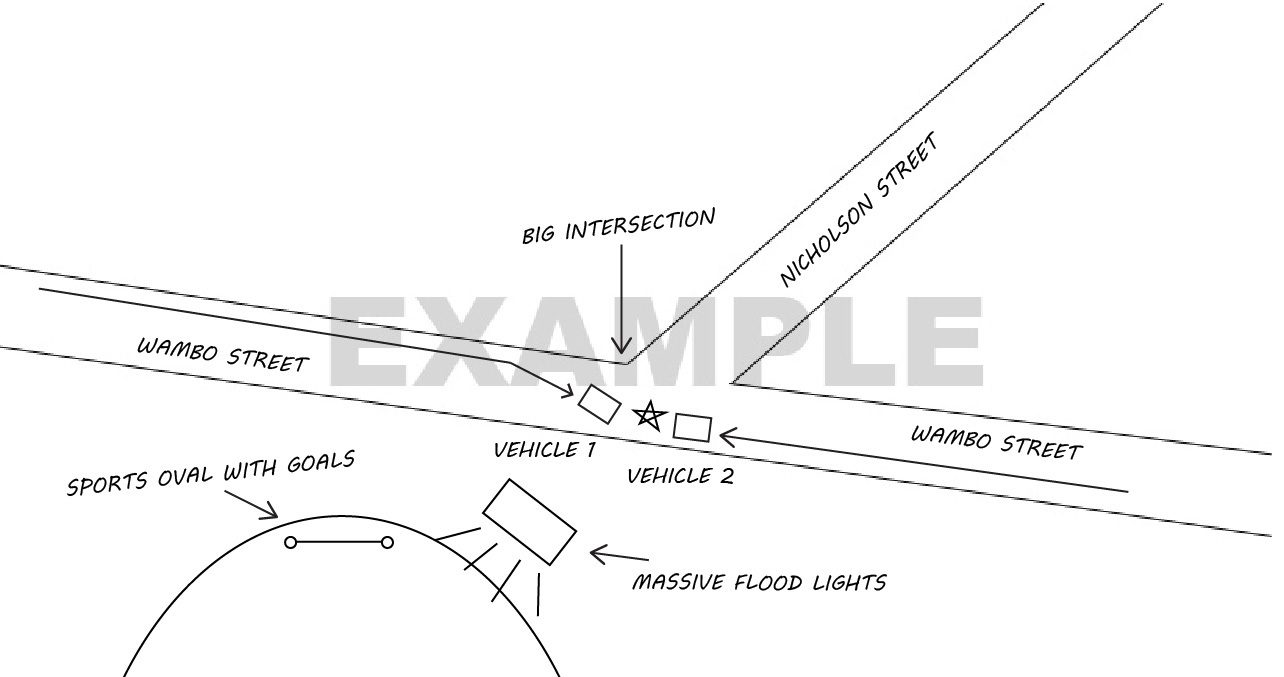
First, we need to draw the accident. Follow the 7-Step process below to make sure your diagram is compliant, understood, and purposeful.
3
Step 3: Identifying It
Mark your line of travel to the point of impact from about 20 to 100 meters away, depending on the situation.
It's a good idea, once you've drawn your intersections, to put a little star where the point of impact was.
Then you draw a line, stopping about a centimeter short of the point of impact. Because where that centimeter gap is between the end of your line and the star which represents the impact, you will put step 4.
So that's part one of how the accident occurred. Now we need to describe that diagram using a timeline and adding in some vehicle speeds. So here's a few pointers on how to do that.
So here's an 11 step guide to describing your accident, and describe means lay it out in dot point form.
11 Step Process to Describing an Accident
1
Step 1: Time and Date
Note the time and date moments before impact.
For example: Monday the 17th of October, 11:30 AM.
2
Step 2: Weather
Note the weather conditions.
For example: It was fine and sunny.
3
Step 3: Route
Note where you were traveling from and to. And remember, you're in Vehicle 2, because you're the not-at-fault vehicle.
For example: Vehicle two was traveling easterly along ABC road towards XYZ intersection.
4
Step 4: Speed of You
Note the speed limit and your speed.
For example: The speed limit on that section of the road is 60 kilometers per hour. Vehicle two was traveling at approximately 55 kilometers per hour.
5
Step 5: Traffic Signals for You
Note the traffic signals that were obeyed or ignored prior to impact.
For example: Vehicle two had a green light and continued through XYZ intersection.
6
Step 6: Direction
Note the direction and the road/street name on which the at-fault vehicle was traveling moments before impact.
For example: Vehicle 1 was traveling southerly along XXX road towards XYZ intersection.
7
Step 7: Speed Of The At-Fault Vehicle
Note the speed limit and the apparent speed of the at-fault vehicle.
For example: The speed limit on that section of the road is 60 kilometers per hour. Vehicle one was traveling at approximately 55 kilometers per hour.
8
Step 8: Traffic Signals Ignored for The At-Fault Vehicle
Note the traffic signals that were obeyed or ignored prior to impact.
For Example: Vehicle one had a red light and failed to obey, carrying on through the intersection.
9
Step 9: Your Evasive Action
Describe your evasive action when you became aware of the imminent collision.
For Example: Vehicle 2 saw the at-fault vehicle one was not going to stop at the red light, and braked hard.
10
Step 10: At-Fault Vehicle's Evasive Action
Describe the at-fault vehicle's evasive action when they became aware of the imminent collision.
For Example: Vehicle 1 began braking hard about two minutes into the intersection, and swerved left.
11
Step 11: Damage
Describe the collision in terms of where each vehicle was impacted.
For Example: The front of vehicle one on the passenger side only collided with the driver's side of vehicle two, impacting just forward of the front wheel.
That's it, there are your 11 points.
Follow them methodically and systematically to fully describe your accident. And you make bullet-points out of those 11 points. After that, feel free to add any further relevant details. But these 11 bare-bones points will get you started.
And you can see, once you've done that, how it all comes together. You start with the diagram, then you move on to a detailed description, and then it's very easy to list who caused the accident and why.
Tactical Tip!
Obtain a copy of the Queensland Police Report that describes your accident.
There is another video that shows you how to get a copy of this report. Check your Resource section, you will need to get a copy, if you can, of the Queensland police report prior to submitting your version of events.
Read it. If there is a discrepancy between the police's version of events and yours, please explain these key differences in the additional information section.
So, what have you learnt today?
You have learned today, in stage one, how to visually represent your accident in a street map diagram. Stage two, you have learned how to describe your accident in detail using a dot point formula based on a liner timescale. And stage three, you have learned how to summarize who you think was responsible for the accident and why.
That should leave you with a water-tight version of events.
Your Next Step
Get A Free Form Check!
Your Notice of Accident Claim form report builds the QP Report which builds your Notice of Accident Claim Form.
... so what does that mean?
Basically, these 3 forms are extremely vital to your claim for compensation. They are the foundations, the building blocks, and the structure of a good claim. If you get this bit wrong, you may as well save yourself the time and not bother!
For that reason, I am happy to give you a Free Form Check.
I will audit it. I will note the changes you need to make to be compliant. And, I will send it back to you on the same day I received it.
All you need to do is email me your form!
Get in Touch
If you have any questions at all, feel free to reach out to me and I'll see what I can do to help.
My name's Ashley Tulley, you can find me at [email protected], or you can ring me personally on my direct line at 07 3014 6543.
Get Social
We'd love if you joined our Facebook Community. We post things that we are passionate about or that interest road trauma victims or issues in the systems that are supposed to support their recovery, as well as more unrestricted content like this.

Breaking down the smokescreen of uncertainty through a unique step-by-step approach.
MCW Legal© 2020 Privacy & Disclaimer


